 Skip to content


Celebrate Easter with colorful eggs hidden in the garden. Teach children about colors and science by hand-dying eggs. Explore natural dye options from your kitchen with fruits and vegetables. Enjoy this project, regardless of having children or their age. Create a mess, be an artist, and start a family tradition.
Have Fun and Experiment!
Create magical, homemade Easter egg dyes with kitchen scraps instead of using a box kit. It's a beautiful and captivating experience, especially for children. Although it requires several hours, the effort is absolutely worth it.
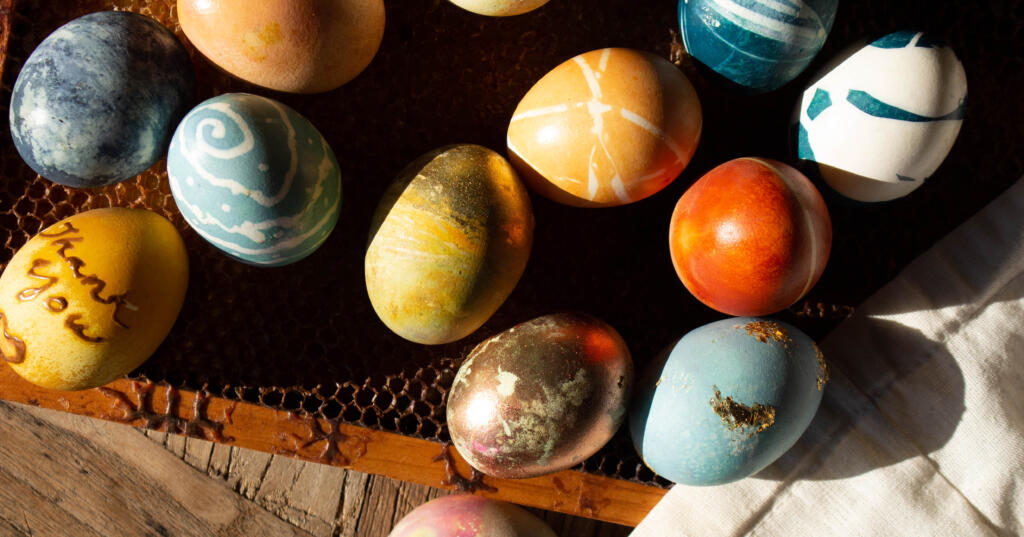
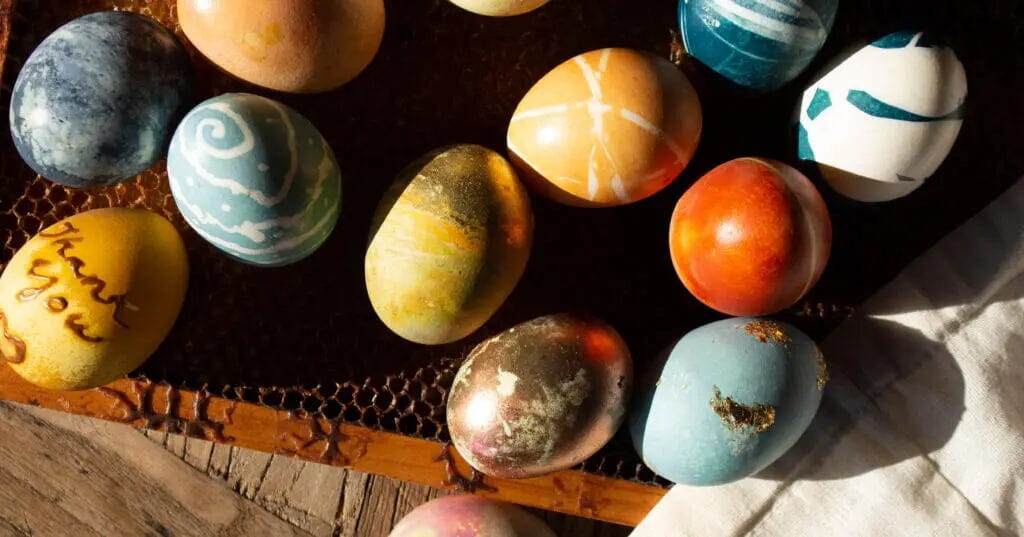
Our plant-based dyes create unique and beautiful colors for your Easter eggs. Soak them longer for richer colors and shorter for lighter, more mottled shades. Get creative and mix colors to achieve different results. Each egg will be one-of-a-kind when naturally dyed.
How To Make Natural Easter Eggs
First, you'll need to do some food shopping in the produce aisle, pick up some of these ingredients:
- Purple cabbage
- Red beets
- Turmeric
- Red Zinger Tea, or any fruit teas that offset color
- Red and yellow/brown onion peels
- Strong Coffee (instead of water)
- Blueberries
- Blackberries
First: Egg Preparation
Hard boil both white and brown eggs and allow them to cool.
Second: Prepare the Natural Dye
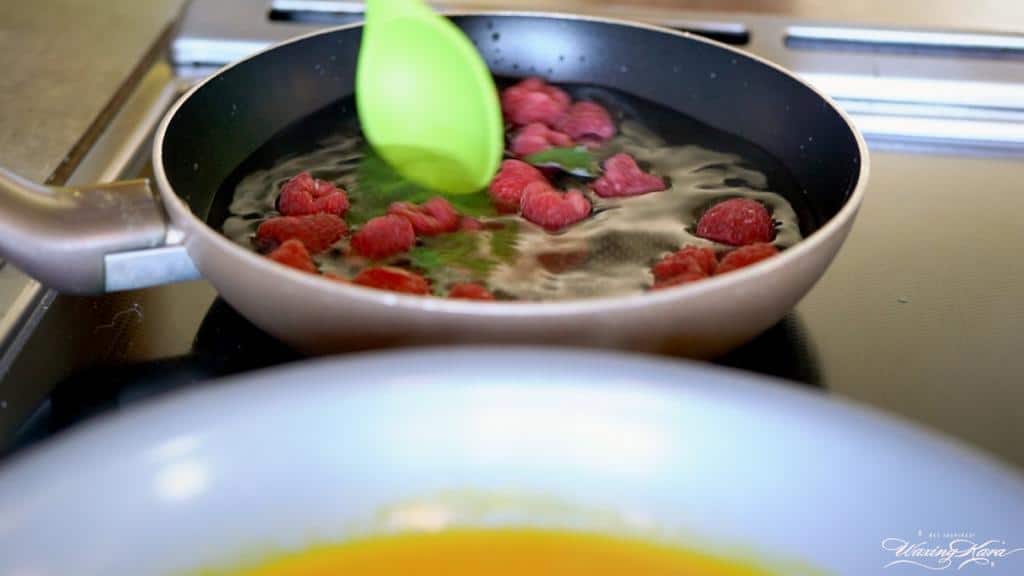
In a large saucepan, bring to a boil four cups of water, four cups of plant material, and two tablespoons of vinegar. For measurements as a rule of thumb, you will need one cup of ingredients, one cup of water to 1/2 tablespoon of vinegar. Allow simmering for about 30 minutes or longer for a more rich color. When the dye is a few shades darker than desired, remove from heat and allow to cool.
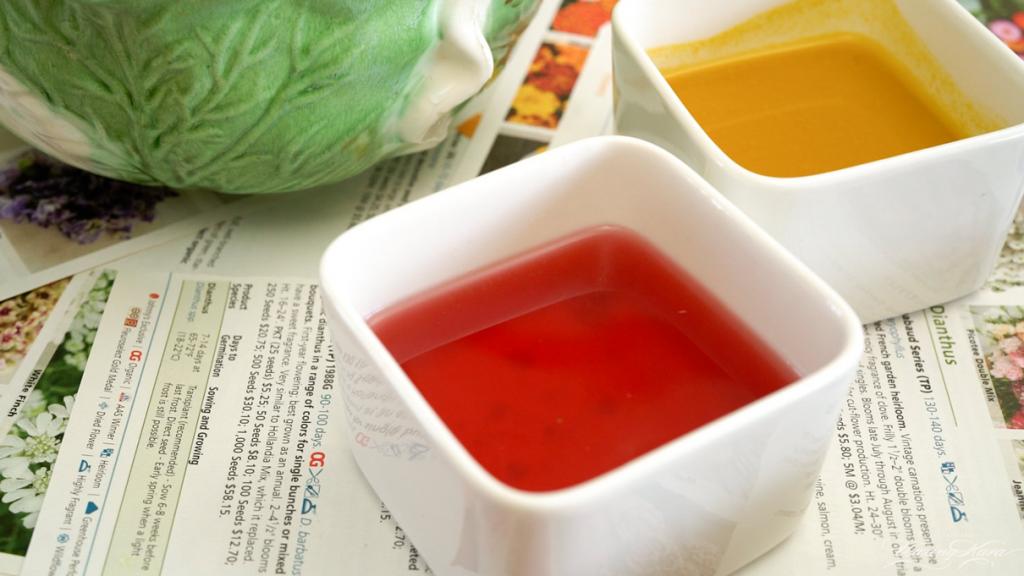
Third: Strain
One cup of dye per 3-4 eggs. For stabilizing dye, you have two options: either add baking soda or vinegar to the plant liquid. Using a sieve, strain and remove all food/plant matter from the liquid. Vinegar lightens the color. Baking soda darkens the color.
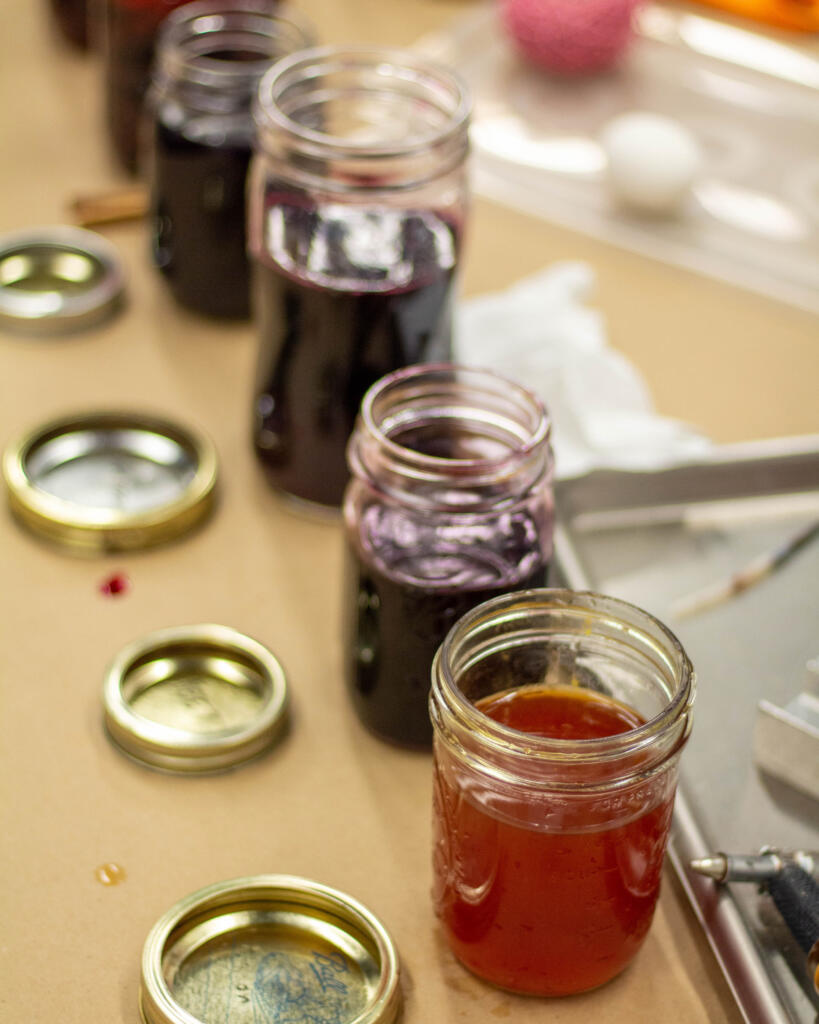
Fourth: Dye Eggs
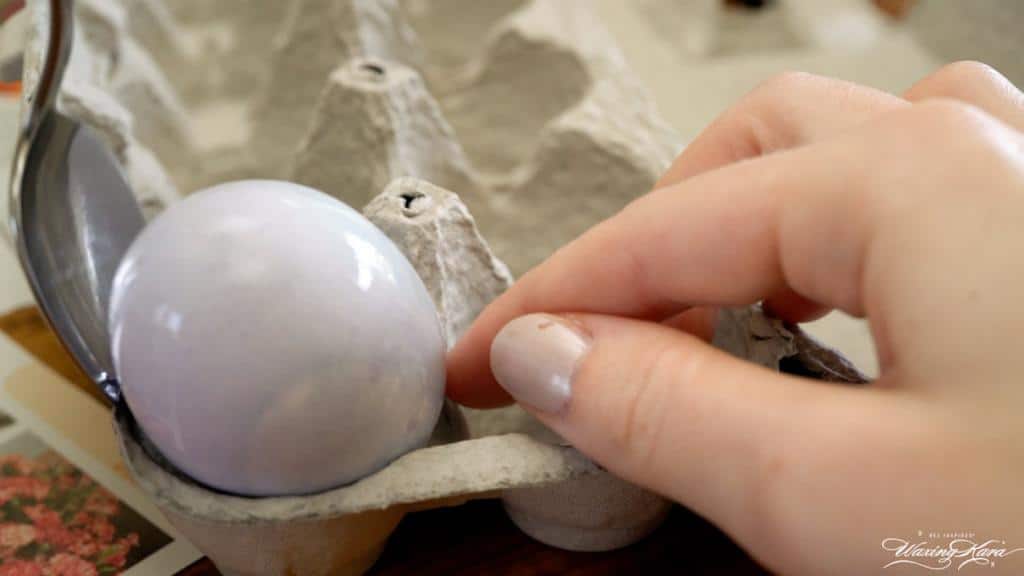
Pour the dyes into clean jars and place your eggs inside each desired dye. We used large Mason jars and fit several eggs into each jar. The eggs should soak anywhere from thirty minutes to one hour for lighter colors. The longer the eggs sit, the deeper the color. For vibrant colors, place the jars into your refrigerator, and allow them to sit overnight. When enough time has passed, remove the eggs from the jars, discard the liquid, and allow the eggs to dry on a wire cookie rack or in their carton.

Fifth: Experiment
It's fun to experiment with colors! Dribble colors onto your eggs with a dropper for a tie-dyed effect, or spatter with dye from a paintbrush. A double-dip from yellow into blue will make shades of teal and green or dipping from yellow to red for salmon and coral tones.
You can naturally dye Easter eggs with many plant-based ingredients! You can use anything in your pantry that creates color. Take a look at your tea collection to add exciting color to the eggs. You may have to soak, dry, and soak again in other colors to achieve your desired effect.
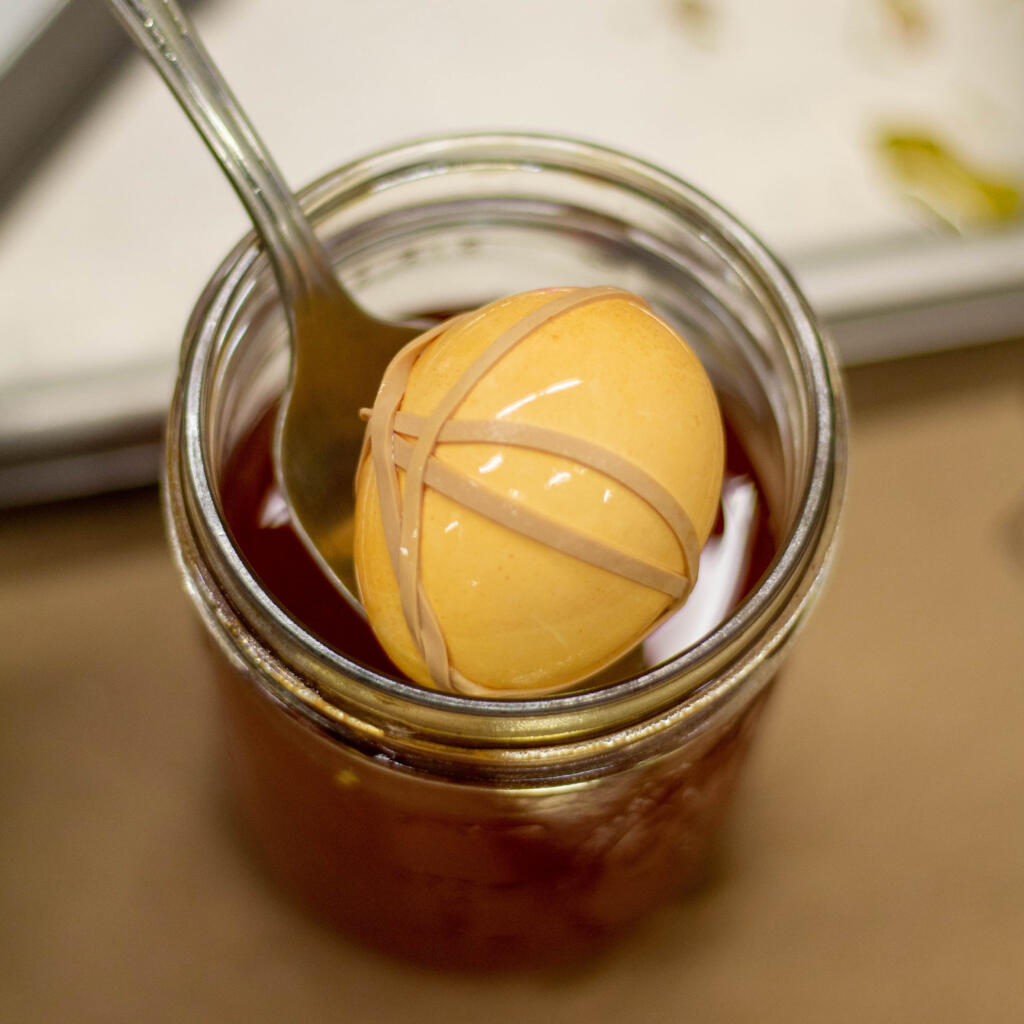
Try decorating the eggs with beeswax in a polka dot pattern or stripe or whatever you fancy to add patterns to your eggs. Try wrapping pieces of twine or rubber bands around them before soaking. Finish your eggs by polishing them with a little bit of vegetable oil on a soft cloth - this gives them a beautiful luster and intensifies the colors.
Beautiful, Unique Eggs for Easter
Dyeing eggs with plants offers endless creativity and freedom compared to standard kits. Each egg becomes a unique work of art with different colors, textures, and patterns. Embrace the unknown and have fun with natural Easter egg dyeing!
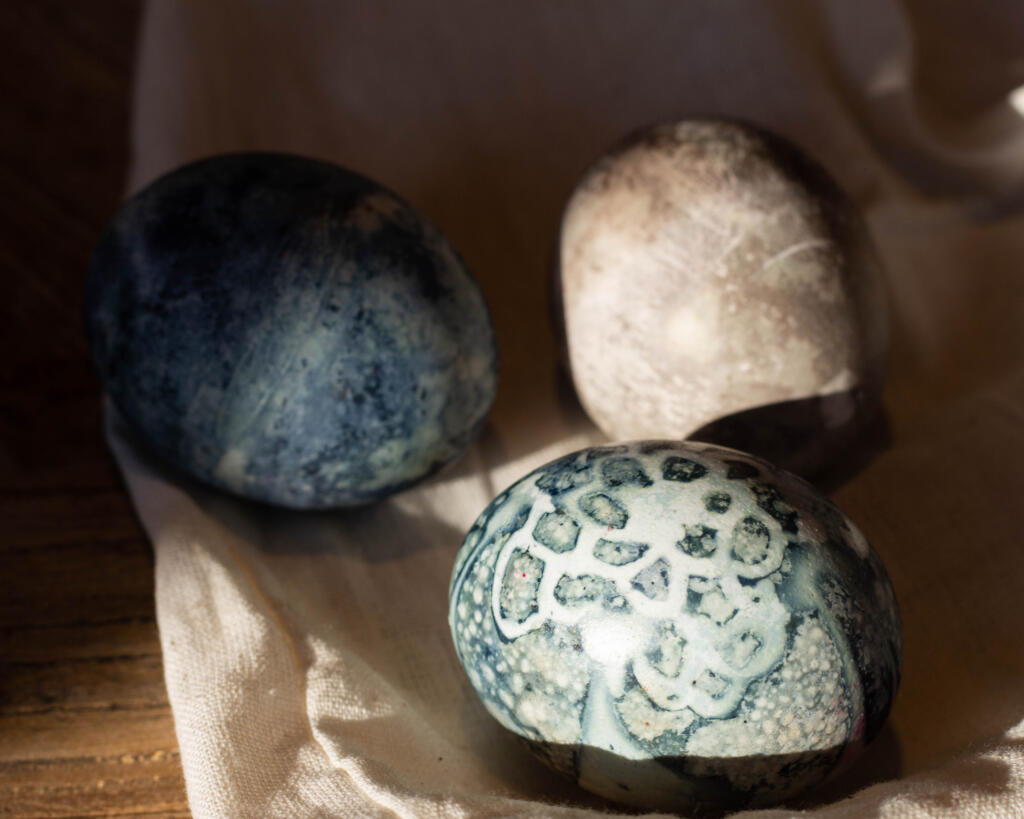
We used rubber bands, string, and beeswax to create patterns and negative space on our eggs. You can also spray them with isopropyl alcohol for a mottled effect, or add metallic pigments and foils for sparkle. As the eggs dry, you may notice changes in color - this is normal. It was so exciting to see the colors change over time!

Colors from natural dyes are (typically) as follows:
Blues and Purples
- red cabbage
- red onion skins
- blueberries/blackberries
Yellows and Oranges
- yellow onion skins
- turmeric
Greens and Grays
- double-dipping from yellow to blue
- blackberries
Pinks and Reds
- red onion skins
- beets
- raspberries
Please Note: These eggs aren't for eating!
Since these eggs soak for a considerable amount of time, we don't recommend using them to eat - not only could food safety be an issue, but they may taste unpleasant due to soaking in a robust and concentrated liquid.

